Sintang Blog

分享点滴


  • 首页

  • 分类

  • tools

未命名

发表于 2019-08-25 | 更新于 2019-05-11

title: 通过python导入cvs数据到influxdb

date: 2019-05-11 22:40:14

导入cvs文件到influxdb-python方式

使用工具

1
https://github.com/fabio-miranda/csv-to-influxdb

工具简介

实用起来很简单,而且作者也在readme中详细的罗列了入参,并写了一个示例。

使用时,如果没有安装python_influxdb的话可能会报错,那么,你需要先安装下python_influxdb

访问地址:https://github.com/influxdata/influxdb-python,在README中详细了介绍如何使用。

使用pip安装方式:

1
pip install influxdb

安装完成后就可以愉快的玩耍了。

常用命令解释

-s:表示influxdb服务器信息,默认为:localhost:8086

-u:influxdb数据库用户名

-p:influxdb数据库密码

–dbname:influxdb数据库名
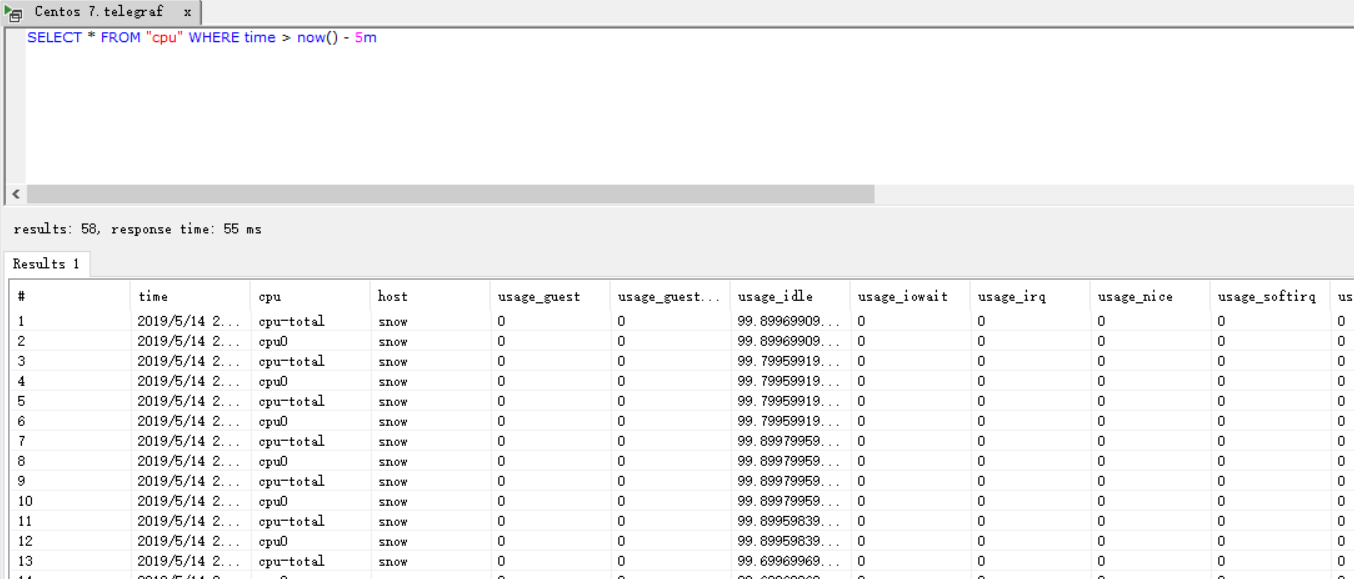
-m:表示要插入的数据的表名

–fieldcolumns:字段,多个使用逗号隔开

–tagcolumns:tag,多个使用逗号隔开

-tc:表示时间字段名称:默认为timestamp

-tf:对时间格式化类型,默认为’%Y-%m-%d %H:%M:%S’,注意,使用时格式为:-tf “%Y-%m-%d %H:%M:%S”

示例

1
python csv-to-influxdb.py -s 127.0.0.1:8086 -u telegraf -p telegraf --dbname telegraf -tf "%Y/%m/%d %H:%M:%S" -tc time -m cpu --input 1.csv --tagcolumns host --fieldcolumns cpu_usage

未命名

发表于 2019-08-25 | 更新于 2019-04-20

Mysql创建用户名并赋权

1
2
3
4
5
use mysql;
create user 用户名 identified by '密码';
-- 赋权
grant all privileges on 数据库.* to '用户名'@'%' identified by '密码';
flush privileges;

Mysql 修改root密码

1
2
3
登录到mysql安装的主机上
mysqladmin -uroot -p password '新密码'
输入老密码

远程登录Mysql主机报错

1
2
3
4
5
6
错误内容:Lost connection to MySQL server at 'reading authorization packet', system error: 0

在my.cnf中增加以下配置:
skip-name-resolve=1
重启mysql
systemctl restart mysqld

未命名

发表于 2019-08-25 | 更新于 2019-04-20

查询List中最大值和最小值

1
2
3
4
5
6
7
8
9
10
11
12
13
14
15
16
17
// 最大值
Collections.max(list);
// 最小值
Collections.min(list);

源码:
Iterator<? extends T> i = coll.iterator();
T candidate = i.next();

while (i.hasNext()) {
T next = i.next();
if (next.compareTo(candidate) > 0)
candidate = next;
}
return candidate;

获取到第一值,作为基准值,然后遍历,如果后续的比这个值大或者小,就把新值赋予基准值,最后得到结果。

influxDB中函数

链接:https://docs.influxdata.com/influxdb/v1.7/query_language/functions

mysql报错后继续操作执行脚本

发表于 2019-07-25

使用mysq命令导入

1
mysql -uroot -proot --force dbname < insert.sql

–force 表示不管是否遇到错误,mysqlimport将强制继续插入数据

redis集群搭建

发表于 2019-06-19 | 分类于 redis

[TOC]

1. 准备

1.1. 基础环境

1.1.1. 拉取centos镜像

1
docker pull centos:latest

1.1.2. 运行容器

1
docker run -d -p 7001:7001 -p 7002:7002 -p 7003:7003 -p 7004:7004 -p 7005:7005 -p 7006:7006 -p 7007:7007 --privileged=true -v /sys/fs/cgroup:/sys/fs/cgroup --name redis-cluster centos:latest /usr/sbin/init

1.1.3. 进入容器

1
docker exec -it redis-cluster /bin/bash

1.1.4. 安装gcc

1
yum install -y gcc

1.1.5. 安装curl

1
yum install -y curl which

1.1.6. 安装wget

1
yum install -y wget

1.1.7. 安装make

1
yum install -y make

1.1.8. 安装ruby

1
yum -y install ruby ruby-devel rubygems rpm-build

1.1.9. 安装ruby-redis插件

1
2
3
4
5
6
7
8
9
10
11
12
13
14
15
16
17
18
19
20
使用rvm安装ruby

gpg2 --recv-keys 409B6B1796C275462A1703113804BB82D39DC0E3 7D2BAF1CF37B13E2069D6956105BD0E739499BDB

curl -sSL https://get.rvm.io | bash -s stable

把rvm/bin加到path中
PATH=$PATH:/usr/local/rvm/bin

安装2.6版本ruby
rvm install 2.6

设置默认版本
rvm use 2.6 --default

检查ruby版本
ruby -v

最后再执行
gem install redis

1.1.10. 下载redis文件

1
2
wget http://download.redis.io/releases/redis-3.2.4.tar.gz
tar -xvf redis-3.2.4.tar.gz

2. 安装

2.1. 编译

1
2
3
cd redis-3.2.4
make
make install

2.2. 复制redis-7001、redis-7002

2.3. 配置redis-conf、redis-conf …

按照下面的配置信息,分别配置redis-7001.conf、redis-7002.conf、redis-7003.conf、redis-7004.conf、redis-7005.conf、redis-7006.conf

1
2
3
4
5
6
7
8
9
10
port  7001                                                
daemonize yes //redis后台运行
bind *
pidfile /var/run/redis_7000.pid //pidfile文件对应7000,7001,7002
cluster-enabled yes //开启集群 把注释#去掉
cluster-config-file nodes_7000.conf //集群的配置 配置文件首次启动自动生成 7000,7001,7002
cluster-node-timeout 15000 //请求超时 默认15秒,可自行设置
appendonly yes //aof日志开启 有需要就开启,它会每次写操作都记录一条日志 
protected-mode no
notify-keyspace-events Egx

2.4. 编写启动、停止脚本

2.4.1. 启动脚本

1
2
3
4
5
6
7
8
9
10
11
12
13
14
vi start.sh

cd /soft/redis-cluster/redis-7001/src
./redis-server /soft/redis-cluster/redis-7001.conf
cd /soft/redis-cluster/redis-7002/src
./redis-server /soft/redis-cluster/redis-7002.conf
cd /soft/redis-cluster/redis-7003/src
./redis-server /soft/redis-cluster/redis-7003.conf
cd /soft/redis-cluster/redis-7004/src
./redis-server /soft/redis-cluster/redis-7004.conf
cd /soft/redis-cluster/redis-7005/src
./redis-server /soft/redis-cluster/redis-7005.conf
cd /soft/redis-cluster/redis-7006/src
./redis-server /soft/redis-cluster/redis-7006.conf

2.4.2. 停止脚本

1
2
3
4
5
6
7
8
9
vi stop.sh

cd /soft/redis-cluster/redis-7001/src
./redis-cli -h 127.0.0.1 -p 7001 shutdown
./redis-cli -h 127.0.0.1 -p 7002 shutdown
./redis-cli -h 127.0.0.1 -p 7003 shutdown
./redis-cli -h 127.0.0.1 -p 7004 shutdown
./redis-cli -h 127.0.0.1 -p 7005 shutdown
./redis-cli -h 127.0.0.1 -p 7006 shutdown

2.5. 集群搭建

2.6. redis-trib.rb命令

此命令在src下。

1
2
cd redis-3.2.4/src
cp redis-trib.rb /soft/redis-cluster/redis-trib.rb
1
./redis-trib.rb create --replicas 1 127.0.0.1:7001 127.0.0.1:7002 127.0.0.1:7003 127.0.0.1:7004 127.0.0.1:7005 127.0.0.1:7006

3. 连接到集群

3.1. 使用redis-cli 连接到集群

1
2
3
4
cd redis-3.2.4/src
./redis-cli -h 127.0.0.1 -p 7001 -c

注意最后面的-c,表示使用连接到集群节点,否则连接到单独的redis

3.2. redis cluster常用命令

3.2.1. cluster info

打印集群的信息

3.2.2. cluster nodes

列出集群当前已知的所有节点(node),以及这些节点的相关信息,可以查看哪些节点是master,哪些是slave

influxDB group by time使用.md

发表于 2019-06-04

需求:influxdb中同一时间存在多个值,需要对每一秒的数据进行分组,获取到每秒数据总和。

表:test

field : bite

tag:name

按照mysql的思路写的sql:

1
select sum(bite) from test where name='hello' group by time(1s) fill(0) order by time;

但是发现一个问题:数据是从name的第一条数据,到当前时间的每一秒的数据。并不是name的开始和结束时间,就像是name筛选未生效,后来发现,group by time(1s) 查询需要指定time的开始和结束时间。所以sql如下:

1
2
3
select sum(bite) from test where name='hello' and time >= '2019-06-04T10:01:01Z'
and time <= '2019-06-04T10:11:02Z'
group by time(1s) fill(0) order by time;

time的开始结束值,就是name=’hello’的开始和结束值。

概念解释:
time(1s):表示每一秒做统计

1m:每分钟

1h:每小时

更多含义参见influxdb函数介绍:

influxdb函数详解从通用函数看时序数据分析方法

官方1.7版本函数详解

学习InfluxDB看这里(一):安装

发表于 2019-05-14 | 更新于 2019-05-15

1. InfluxDB入门第一篇:安装

1.1. 环境准备

Centos 7 + Telegraf 1.10.3 + InfluxDB 1.7.6 + InfluxDb Studio

1.2. InfluxDB

1.2.1. 安装influxDB

1
2
wget https://dl.influxdata.com/influxdb/releases/influxdb-1.7.6.x86_64.rpm
sudo yum localinstall influxdb-1.7.6.x86_64.rpm

1.2.2. 启动InfluxDB

1
systemctl start influxd

1.2.3. 配置influxDB

1
2
3
4
5
6
7
8
9
10
# 创建数据库,使用influx 命令进入到influxdb命令行
influx
create database telegraf;
use telegraf;

# 下面创建用户名telegraf 密码为telegraf的用户,注意用户名用双引号,密码用单引号
create user "telegraf" with password 'telegraf';

# 输入exit 退出influx命令行
exit

1.3. telegraf

1.3.1. 安装telegraf

1
2
wget https://dl.influxdata.com/telegraf/releases/telegraf-1.10.3-1.x86_64.rpm
sudo yum localinstall telegraf-1.10.3-1.x86_64.rpm

1.3.2. 配置telegraf

1、配置连接Influxdb信息(outputs.influxdb)

1
2
3
4
5
6
7
8
9
10
11
12
13
14
15
16
17
18
19
20
21
22
23
24
25
26
27
28
sudo vi /etc/telegraf/telegraf.conf

# Configuration for influxdb server to send metrics to
[[outputs.influxdb]]
## The full HTTP or UDP URL for your InfluxDB instance.
##
## Multiple urls can be specified as part of the same cluster,
## this means that only ONE of the urls will be written to each interval.
# urls = ["udp://localhost:8089"] # UDP endpoint example
urls = ["http://localhost:8086"] # required
## The target database for metrics (telegraf will create it if not exists).
database = "telegraf" # required

## Name of existing retention policy to write to. Empty string writes to
## the default retention policy.
retention_policy = ""
## Write consistency (clusters only), can be: "any", "one", "quorum", "all"
write_consistency = "any"

## Write timeout (for the InfluxDB client), formatted as a string.
## If not provided, will default to 5s. 0s means no timeout (not recommended).
timeout = "5s"
username = "telegraf"
password = "telegraf"
## Set the user agent for HTTP POSTs (can be useful for log differentiation)
# user_agent = "telegraf"
## Set UDP payload size, defaults to InfluxDB UDP Client default (512 bytes)
# udp_payload = 512
1
2
3
4
urls:表示influxdb的地址及端口号
database:influxdb数据库名
username:数据库用户名
password:数据库密码

1.3.3. 启动telegraf

1
systemctl start telegraf

1.4. 使用 InfluxDb Studio查看Influx数据

1.4.1. 下载 InfluxDb Studio

1
https://github.com/CymaticLabs/InfluxDBStudio/releases/download/v0.2.0-beta.1/InfluxDBStudio-0.2.0.zip

1.4.2. 连接至Influxdb

1
解压后,打开InfluxDBStudio.exe

1557844594658

点击【Create】,创建InfluxDB连接。

1557844675405

1
2
3
4
5
Name: 给连接起个名字
Address:InfluxDB IP地址及端口号,端口默认为8086
Database: 创建的数据库,刚创建的为:telegraf
UserName: 数据库用户名
Password:数据库密码

点击【Save】,保存连接,然后点击【Connect】,进入到数据库详情。

1557844944855

展示的为telegraf默认监控服务器数据。

双击某个表名称,即可创建一条查询语句。点击工具栏中的【Run Query】即可查看数据信息。

1557845068013

1557845107628

至此,基础环境搭建完成。

sintang

8 日志
1 分类
3 标签
GitHub
Links
  • 小马哥的博客
  • java技术驿站
豫ICP备15007783号 © 2019 – 2020 sintang
由 Hexo 强力驱动 v3.8.0
|
主题 – NexT.Pisces v6.7.0